How to access the router's web interface
The router's web interface (WebUI) is accessed via a browser over the local network. This guide covers how to connect and log in, how to configure your PC network settings if required, and how to diagnose common connection problems.
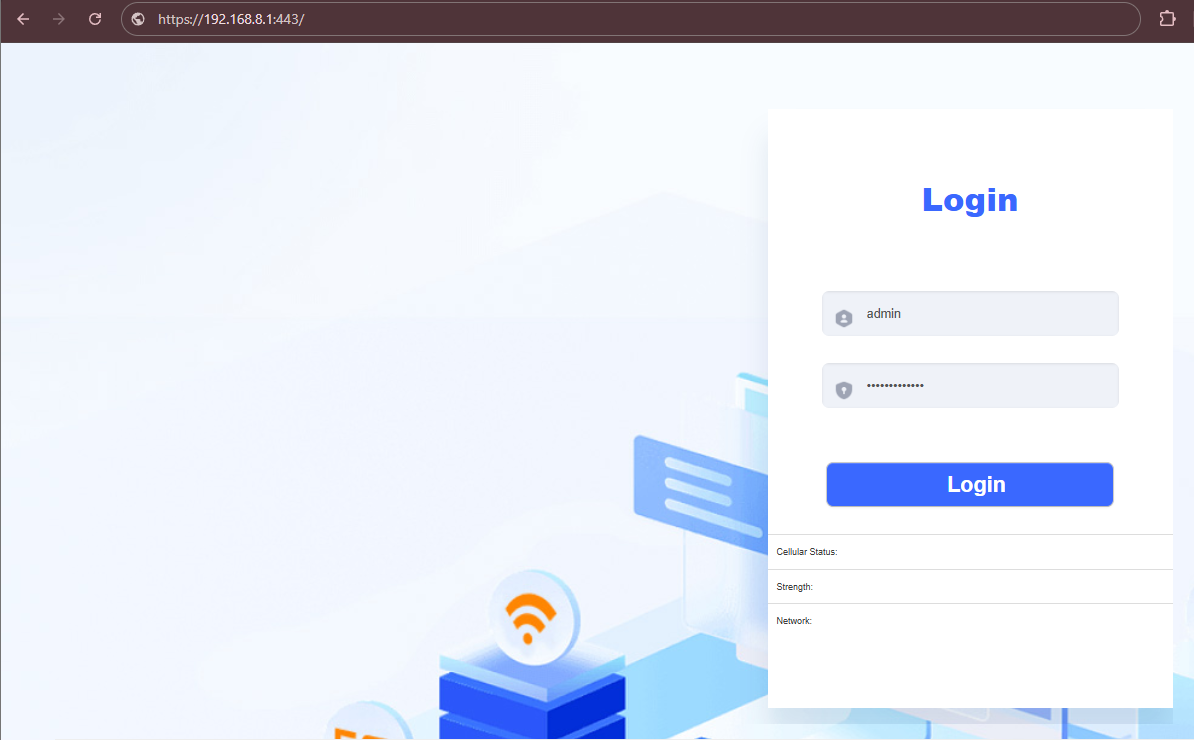
Quick access
- Connect an Ethernet cable from a LAN port on the router to your PC
- Open a browser and navigate to
https://192.168.8.1:443 - Log in with the credentials printed on the device label (or your updated password if already changed)
If the login page does not load, your PC may need its network settings adjusting — see below.
PC network configuration
The router's default LAN parameters are:
| Parameter | Default value |
|---|---|
| Router IP address | 192.168.8.1 |
| Subnet mask | 255.255.255.0 |
| DHCP server | Enabled — assigns addresses in the 192.168.8.x range automatically |
To check or change your PC's IPv4 settings on Windows, go to Control Panel > Network and Sharing Center, open your active Ethernet connection, click Properties, then double-click Internet Protocol Version 4 (TCP/IPv4).
Method 1: Obtain an IP address automatically (DHCP)
Use this method when the router is on factory settings or DHCP is enabled (the default).
In the TCP/IPv4 properties, select:
- Obtain an IP address automatically
- Obtain DNS server address automatically
Click OK. Your PC will be assigned an IP in the 192.168.8.x range by the router. Navigate to https://192.168.8.1.
Method 2: Set a static IP address (DHCP disabled)
Use this method if DHCP has been disabled on the router. In TCP/IPv4 properties, select Use the following IP address and enter:
| Field | Value |
|---|---|
| IP address | 192.168.8.x — any value from 2 to 254 not already in use |
| Subnet mask | 255.255.255.0 |
| Default gateway | 192.168.8.1 |
| Preferred DNS server | 192.168.8.1 |
Note: If the router's LAN IP has been changed from the default, your PC must be configured in the same subnet as the router's current IP address.
Troubleshooting
If the web interface does not load after connecting, work through the following steps.
Step 1: Check your IP address
Open Command Prompt (press Win + R, type cmd, press Enter) and run:
ipconfigLook for your Ethernet adapter entry. A correctly configured connection shows an IP in the 192.168.8.x range:
Ethernet adapter Ethernet:
   IPv4 Address. . . . . . . . . . . : 192.168.8.100
   Subnet Mask . . . . . . . . . . . : 255.255.255.0
   Default Gateway . . . . . . . . . : 192.168.8.1
If the IP shows as 169.254.x.x the PC has not received an address from the router — check the cable and try Method 2 (static IP) above.
Step 2: Ping the router
Test connectivity by running:
ping 192.168.8.1A successful response confirms the router is reachable:
Reply from 192.168.8.1: bytes=32 time<1ms TTL=64If the ping times out or shows "Destination host unreachable", check the cabling and confirm you are connected to a LAN port (not the WAN port).
Step 3: Release and renew the IP address
If the IP configuration looks incorrect, release and request a new DHCP address:
ipconfig /release
ipconfig /renew
Run ipconfig again to confirm a valid 192.168.8.x address has been assigned.
Step 4: Flush the DNS cache
ipconfig /flushdnsThen retry https://192.168.8.1 in the browser.
Step 5: Try a different browser or incognito mode
Browser extensions or cached certificates can prevent the login page from loading. Try a different browser (Chrome, Firefox, Edge) or incognito/private browsing mode.
Common issues
| Issue | Resolution |
|---|---|
IP address shows 169.254.x.x |
PC has not received a DHCP address. Check the Ethernet cable is connected to a LAN port and the router is powered on. Try setting a static IP (Method 2). |
| Ping times out | Cable fault, wrong port (WAN instead of LAN), or router not booted. Try a different cable. Confirm LEDs are active on the router. |
| Browser shows certificate warning | Expected — the router uses a self-signed HTTPS certificate. Click Advanced and proceed to the site. This is normal behaviour. |
| Login page loads but credentials are rejected | Check the credentials on the device label. If the password was changed and is now unknown, a factory reset is required. |
| PC on Wi-Fi and Ethernet at the same time | If the PC is also connected to a Wi-Fi network using the 192.168.8.0/24 range, there will be a subnet conflict. Disconnect Wi-Fi while accessing the router. |
| Firewall blocking the connection | Temporarily disable Windows Firewall or third-party security software to test. Some AV products block access to private IP web interfaces. |
| Router IP was changed from default | If 192.168.8.1 does not respond, the LAN IP may have been changed. Check any documentation for the site, or perform a factory reset to restore defaults. |
Useful commands reference
| Command | Purpose |
|---|---|
ipconfig |
Show current IP address, subnet mask, and default gateway for all adapters |
ipconfig /release |
Release the current DHCP-assigned IP address |
ipconfig /renew |
Request a new IP address from the DHCP server |
ipconfig /flushdns |
Clear the DNS resolver cache |
ping 192.168.8.1 |
Test network connectivity to the router |
arp -a |
Show the ARP table — useful for confirming the router's MAC address is visible |